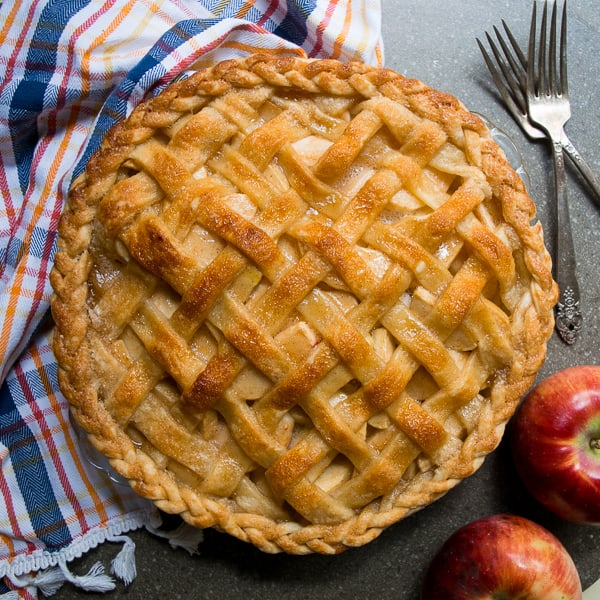
The rich, buttery flavor combined with a perfectly flaky texture elevates any pie to a whole new level. Learning How to Make All Butter Pie Crust will have your friends and family singing your praises when they taste your fresh baked pies!
This post may contain Affiliate Links.
All Butter Pie Crust
If you follow me on Instagram, you’ve seen me post a few pie photos and I always mention how its a personal goal of mine to be an old ‘pie lady’. I have always just wanted to be able to whip up gorgeous fantastic pies that people are in love with. So in my quest for this life goal I have to start at the beginning, with pies that means a crust. So today I thought it share with you what I’ve learned about pie crust and show you how to make all butter pie crust.
Growing up my family always made Tourtière or also known as French-Canadian Meat Pie for Christmas. We would use a recipe that was passed down through our French-Canadian voyager ancestors who would come to Minnesota for fur trading. My large family would always get together ahead of Christmas to make what seems to be about 100 pies (we didn’t make 100 pies, the original recipe is for 8 pies, so I am guessing probably made about 8 haha). Aunts, Uncles, and cousins would be running around making filling and pie crust. The pies then would be baked for Christmas brunch once everyone was done opening all of their presents. And the smell of our family’s Tourtière is still the epitome of Christmas to me.
It is such a pleasant tradition that brings a smile to my face BUT I will say this, I always hated my family’s crust recipe.
I said it, and hopefully too many family members are reading this and passing judgement! The reason I am not a big fan is because it is an all shortening recipe. Shortening does have its place in pie crusts, and I do enjoy a good half shortening half butter crust for certain pies every so often but nothing beats an all butter pie crust.
Why I love butter pie crusts.
First off flavor, the authentic flavor of butter beats shortening any day, hands down on this reason alone I would make all butter pie crusts every time. Butter also makes a puffier and flakier crust when done correctly.
Second, workability. I always struggled to shape and roll shortening pie crusts, I always got too much bounce back. I switched over to butter and I was able to work with the crust a lot better, I was able to shape them with ease as long as the crust doesn’t get to warm.
Did I mention the taste of butter again! haha
The downside to all butter pie crusts…
I’m over here ranting about how great they are but there are a few reasons why some people chose shortening over butter. First is patience, which sounds sort of awkward, but with butter pie crust you have to keep the butter cold, you want to touch it with your hands as little as possible and perhaps even letting it rest in the fridge if it starts to get to warm. With shortening you don’t have to worry about that, you can work with it and reshape it a lot easier.
So with that being said once you learn the tricks of all butter pie crust you’ll never have an issue again!
So let’s take a look at how to make this.
The Method
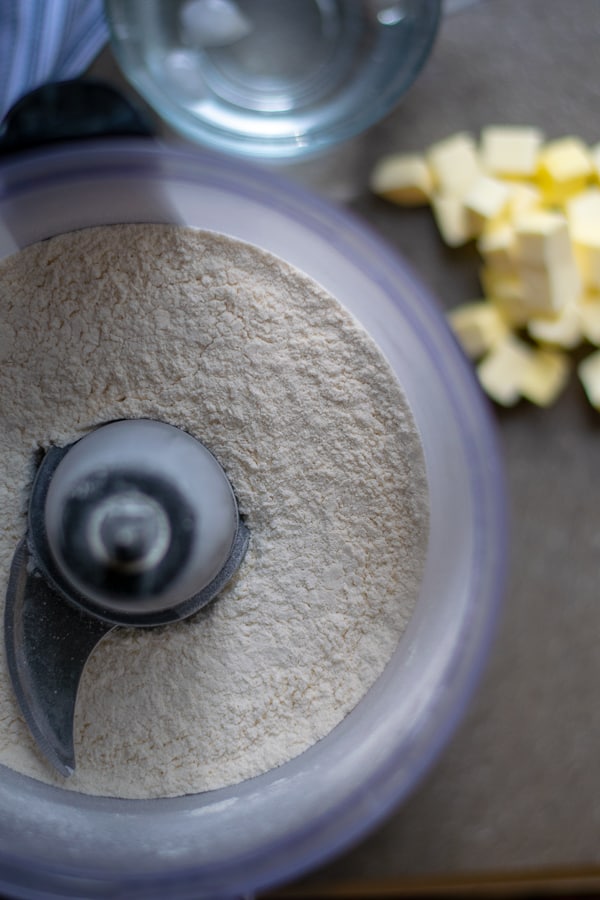
You will start with 5 very simple Ingredients. Flour, salt, sugar, butter, and water. Most likely items you probably have at home. In my directions you’ll also need a food processor BUT if you don’t have one you can still follow this recipe and get an awesome pie crust, it will just take a little longer.

As you are collecting your ingredients you are going to want to get a cup full of cold water with ice cubes to ensure you have ice cold water when it comes time to measure out your water. Also leave the butter in the fridge until you are ready to cut and use it, the success to this recipe is to keep the butter cold.
You’ll add the flour, salt, and sugar to the processor and give it a quick pulse to combine.
Next you’ll add the butter, so take it out of the fridge and cut it into small cubes about the size of a marble. Make sure to try to touch it as little as possible when cutting it to keep it cold. You’ll then add the butter cubes to the processor and pulse 5-6 times until mixed sized crumbs have formed.

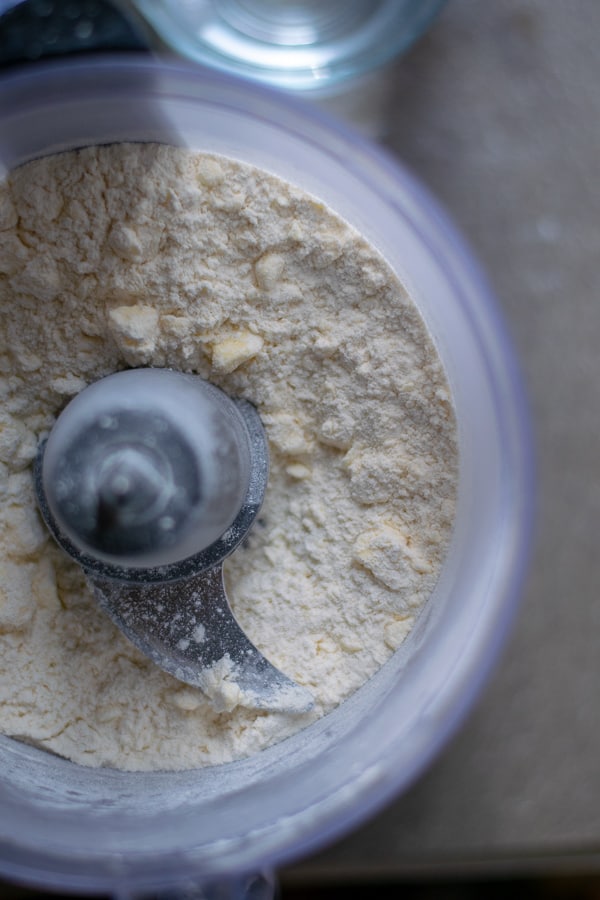
Using the ice cold water you have set aside add 4 tablespoons to the processor. Plus processor an additional 5-6 times until the water is mixed and no more flour streaks appear in the crumbs.

It will look like little butter beads at this point, so the next step will be to roll it into a ball to form the dough. On a clean floured surface dump the contents of the food processor out, scrape out the crumbs with a spoon or spatula if necessary. At this point you have permission to use your hands 😉 but try to do it quickly. Gather the butter crumbles together to make a ball of dough.

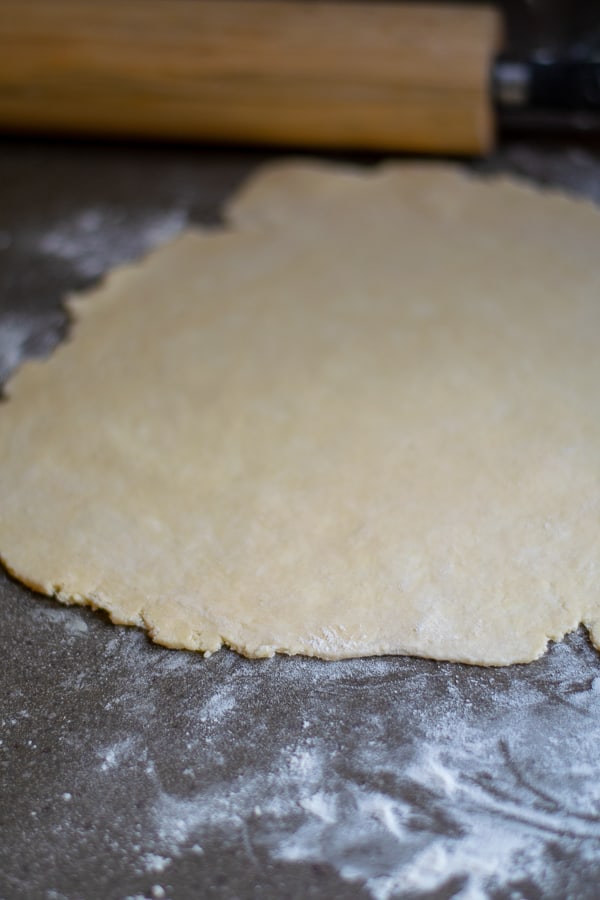
If you aren’t using immediately cover with plastic and store in the refrigerator. Can be stored for up to 2 days or frozen. If you are ready to make your crusts right away use plenty of flour to roll it out.
If at any point you are working with the dough and it becomes overly sticky and hard to work with transfer the dough to the refrigerator and let the butter get cold again. I recommend giving the dough a little fridge time before rolling out just to keep it easy to work with.
While I do recommend that you handle it with caution you are able to re-roll the dough and re-use the dough scraps, they might just need a quick chill in the fridge though if they get too warm.
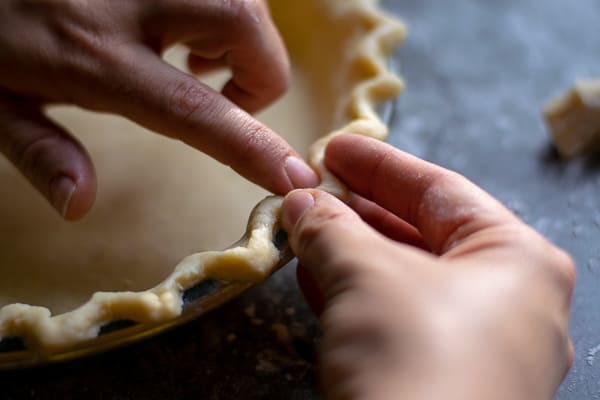
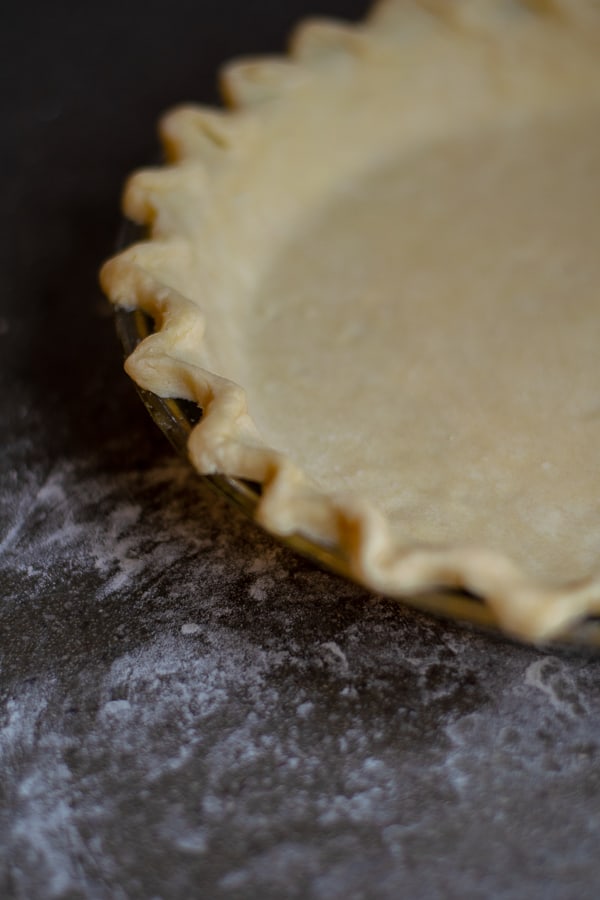
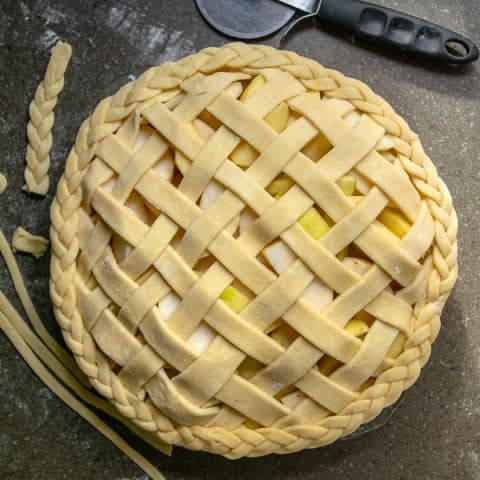
Transfer your pie crust to a pie plate. Decorate the edges to your liking and fill with delicious pie!
So that is How To Make All Butter Pie Crust. This recipe doubles super easy, and you can make a double batch in the food processor if you need a double pie crust or are making two single pies. If you need more than that I recommend splitting it into two separate batches.
Either way you make it, this pie crust has never failed me and has made many delicious pies. So whether you have a family recipe you are wanting to try out or just want to make a nice pie now you know how to make all butter pie crust!

tips, tricks and questions
I can’t stress enough how important it is for a good crust to keep your butter cold, use your hands as little as possible and leave the pie dough in the fridge for any moments of rest to keep it chilled.
Use plenty of flour when rolling it out, the last thing you want is for your crust to stick to the counter after you’ve rolled it out
Can I use salted butter instead of unsalted?
While it’s possible, using unsalted butter allows you to control the salt content better. If you only have salted butter, reduce the added salt in the recipe.
Can I make this Pie Crust Dough ahead of time?
Absolutely! If you are preparing for a holiday, like Thanksgiving or Christmas this pie crust is one of those things that can be made a few days ahead of time. Pie crust will stay good in the fridge for 2 to 3 days. You can even make it a few weeks before and freeze it, just make sure you give it enough time to thaw before using it.
Practice makes perfect with pie crust. Just like everything in life, the more often you make it the better you’ll become at it.
How do I prevent a soggy bottom crust?
Blind bake the crust before adding the filling. Line the crust with parchment paper, fill it with pie weights or dry beans, and bake for about 15 minutes before adding your filling.
I don’t have a food processor, can I make this without one by hand?
Yes! You just will need either a pastry cutter or 2 forks. You will just add the flour, sugar, and salt to a bowl, add the butter and make crumbs by hand with the pastry cutter or use the forks together in a scissor like movement to break up the butter into the flour. Add water and mix in and continue making crumbs until you are able to form your crumbs into a ball, it is okay to have some bigger pieces of butter in the dough. Once you have your ball, roll out just as you would if you made it with a food processor.
If you like this All Butter Pie Dough Recipe you might also like these pie recipes:
All Butter Pie Crust Recipe
5 simple ingredients to make an all-butter pie crust
Ingredients
- 1 cup all purpose flour
- 1/2 teaspoon salt
- 1/2 teaspoon sugar
- 6 tablespoons cold unsalted butter, cubed into marble sized pieces
- 4 tablespoons ice cold water*
Instructions
- Add flour, salt, and sugar to the food processor. Pulse to combine.
- Add chilled butter, pulse 5-6 times until you get mixed sized crumbs.
- Add water to the food processor and pulse another 5-6 times until everything is combined into small crumbs. Flip contents of the food processor out onto a clean and floured work area, scraping any dough out of the processor with a spoon or spatula. Quickly and gently form the dough into a ball with your hands. If you are not using immediately cover with plastic and store in the fridge.
- On a well floured surface roll out the dough into a crust ensuring to add flour where the dough is sticky (on both the top and bottom). Carefully transfer rolled out crust to pie plate. If at any point the dough becomes hard to work with or too sticky it has become too warm, transfer to the fridge to rest and cool back down. Use with your favorite pie filling, recipe doubles well.
Notes
*While gathering ingredients get a large glass of cold water and add ice cubes to ensure you are ready to measure out ice cold water in step 3.
Recommended Products
As an Amazon Associate and member of other affiliate programs, I earn from qualifying purchases.

Nutrition Information:
Yield:
8Amount Per Serving: Calories: 132Total Fat: 9gSaturated Fat: 5gTrans Fat: 0gCholesterol: 23mgSodium: 147mgCarbohydrates: 11gFiber: 1gSugar: 0gProtein: 2g