A fun twist on the classic cookie these Eggnog Snickerdoodles are sure to be a fun addition to your holiday baking list! Flavored with rum extract and nutmeg this cookies are filled with notes of eggnog and sugar cookies!
This post may contain Affiliate Links.

Eggnog Snickerdoodle Cookies
I have been making a version of these cookies for years, I include them on every holiday plate and they are always a hit! So after years of messing with the recipe I am finally sharing them!
These are your basic snickerdoodles but with an eggnog twist in the form of rum extract and nutmeg which give the cookies and eggnog flavor but without being overwhelming!
I like including these cookies on my holiday baking list because the dough can be made a full day ahead of time. So that means on cookie baking day all I have to do it roll the dough up, add the spiced sugar to the outside and bake!
If you love eggnog as much as I do try making this Starbucks Eggnog Latte or these Glazed Spiced Eggnog Scones. Or trying pairing these with a glass of Single Serve Hot Chocolate for a cozy evening!

Cookies 4 Kids’ Cancer
This year we are raising money for Cookies 4 Kids’ Cancer, which is a recognized 501(c)3 non-profit organization dedicated to funding research for new, innovative and less-toxic treatments for childhood cancer.
Did you know that cancer is the #1 cause of death by disease of children in the U.S.?
Since 2008, Cookies for Kids’ Cancer has granted nearly $17 million to pediatric cancer research in the form of 100+ research grants to leading pediatric cancer centers across the country. From these grants have stemmed 35+ treatments available to kids battling cancer today.
Absolutely amazing. If this moves you I urge you to check out Cookies for Kids’ Cancer here and if you are interested in making just a small donation click HERE. Even just learning about the cause can make a big impact.
Another exciting thing is that Cookies for Kids’ Cancer is in a matching window with their friends at OXO, meaning OXO will be matching every dollar raised through the end of 2023, up to $100,000. Whatever money we raise will automatically double on our fundraising page!
Thank You!
Ingredients
- All-Purpose Flour – Like most cookie recipes you will start off with flour. Make sure in order to get the proper amount of flour you are either using a kitchen scale or scooping the flour into the measuring cup with a spoon, ensuring to make a mound over the top, tapping the flour into place lightly and then scraping off any mounding flour off of the measuring cup with a spoon.
- Cream of Tartar – This is an essential component of snickerdoodle cookies, not only does it help keep the cookies from spreading out it also helps with the flavor, it gives the little ‘sour’ kick that snickerdoodle are known for.
- Baking Soda – I use both baking soda and baking powder in this cookie to get the right rise and spread. By splitting the rising power between the two you get an even rise where the cookie isn’t too puffy nor is it to spread out.
- Baking Powder – Like noted right above, use both baking powder and baking soda to give the cookies the perfect rise.
- Ground Cinnamon – Now we are getting into some of the flavors. The cinnamon is a classic part of both snickerdoodles and eggnog flavors, so of course this can’t be missed.
- Ground Nutmeg – For the eggnog twist it wouldn’t be possible without adding some nutmeg flavor! It will be added both to the cookies dough itself but also to the outside of the cookie.
- Salt – Did you know adding salt to the cookie not only helps the chemistry of the cookie but it also helps the cookies taste sweeter, that is pretty powerful!
- Unsalted Butter – Because we do add salt we will want to make sure that we use unsalted butter here. Also we will want this butter softened to room temperature. It will need to be softened because we will cream it with the sugars.
- Granulated Sugar – Granulated sugar (regular sugar) will be used from both in the cookie and rolling the snickerdoodle into so that they get that famous sugar and spice outside crunch.
- Light Brown Sugar – The brown sugar will be used for the cookies dough, using brown sugar helps add some of the flavors from the molasses that help give the cookies flavor and help keep its softness.
- Eggs – For the dough, if possible use room temperature eggs.
- Vanilla Extract – A classic in the snickerdoodle cookie.
- Rum Extract – And to give the eggnog flavor we will use Rum Extract! This is the secret to the cookies here, Surprisingly you don’t need to add that much either a little will go a long way. This should be fairly easy to find in the baking section of your grocery store.
For a complete detailed list of the ingredients continue towards the bottom of the page.

Instructions
In a mixing bowl whisk together the flour, cream of tartar, baking soda, baking powder, cinnamon, nutmeg and salt for 20 seconds, set aside.

In the bowl of an electric stand mixer fitted with the paddle attachment, blend together the butter, granulated sugar, and brown sugar on medium until creamy, about 3 minutes, ensuring to scrape down the sides if needed. You are looking for a light fluffy looking mixture here once the 3 minutes are up.
Mix in the eggs, vanilla, and rum extract on medium, blend until everything is fully combined.

Add the flour mixture to the stand mixer and mix on slow until just combined and no floury steaks are left. Use a spoon/spatula to scrape the bottom and make sure everything is mixed.

Cover and place in fridge at least 60 minutes but up to overnight. If you are leaving in the fridge overnight (or most of the day) I would recommend either wrapping in plastic wrap or adding to a ziptop bag to seal and keep airtight.
Once you are ready to bake preheat the oven to 350 º F. Add parchment paper to two baking sheets.
In a small bowl whisk together the remaining granulated sugar, nutmeg and cinnamon for rolling.
Scoop dough out, one heaping tablespoon at a time and shape into balls.


Roll dough balls into mixture to evenly coat. Place 2-inches apart on the parchment paper lined baking sheets. Bake in the oven 9 – 10 minutes (they should appear slightly under-baked when done). Cool on baking sheet several minutes then transfer to a wire rack to cool completely. Store in an airtight container. (This recipe might take up to 3 batches.)


tips, tricks and questions
If resting the dough overnight ensure that the dough is wrapped/placed in an airtight container/bag.
These cookies freeze really well! Just make sure they are in an airtight container!
What is the difference between sugar cookie and snickerdoodle?
Snickerdoodles are technically “sugar cookies”. But the main difference is, traditional plain sugar cookies are often rolled in just white sugar whereas snickerdoodles are rolled in a mixture of white sugar and cinnamon. So the biggest difference in the cinnamon (and in this case, nutmeg). Snickerdoodle’s also get their unique flavor from the Cream of Tartar.

If you like these Eggnog Snickerdoodles you might like these other recipes:
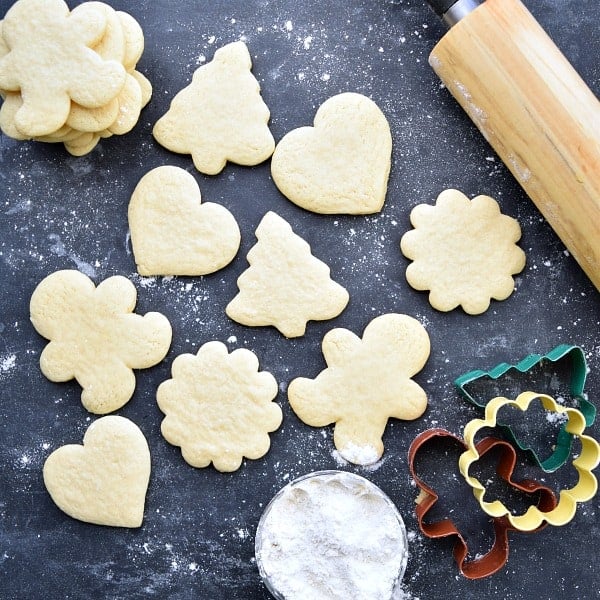
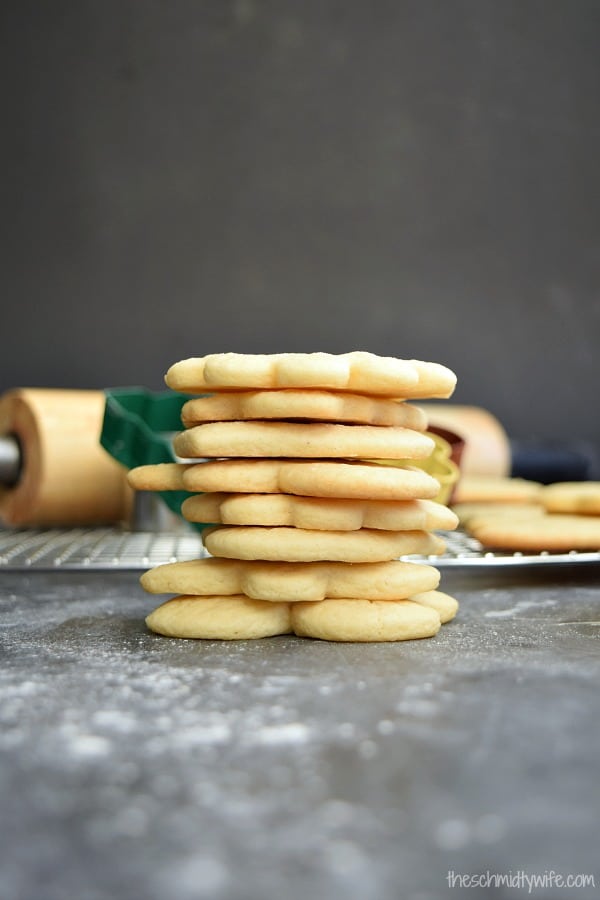
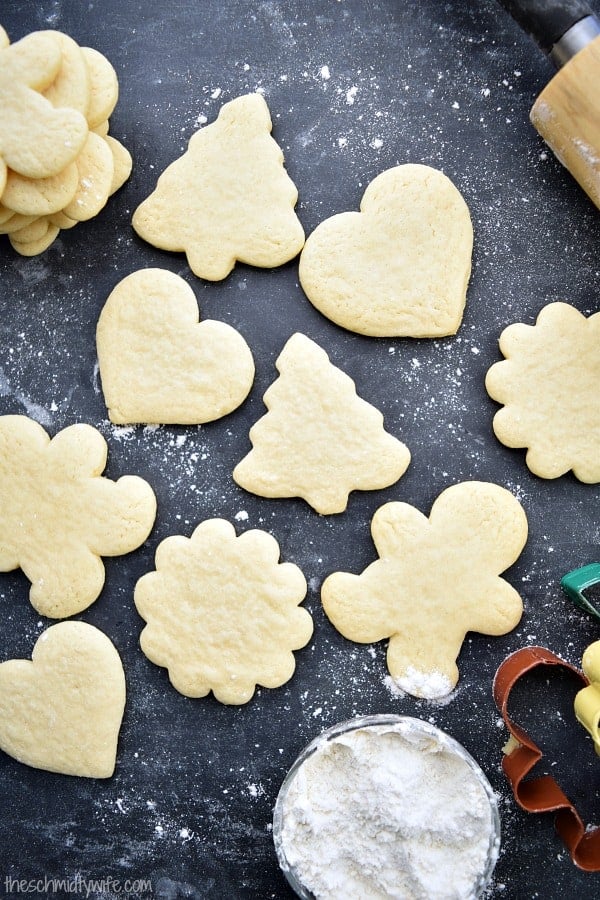
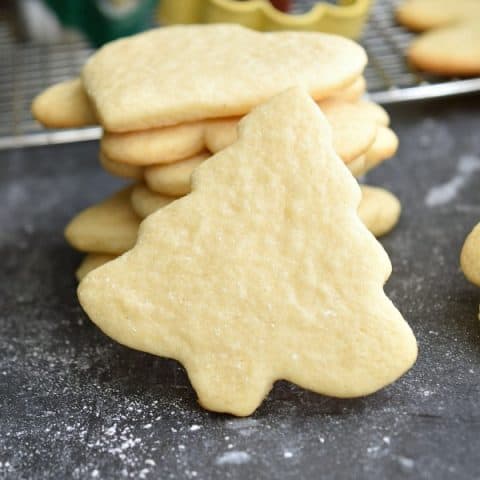
- Cutout Sugar Cookies
- Chocolate Peppermint Crinkle Cookies
- Soft Glazed Gingerbread Cookies
- White Chocolate Dipped Peppermint Cookies
- Homemade Gingerbread Marshmallows
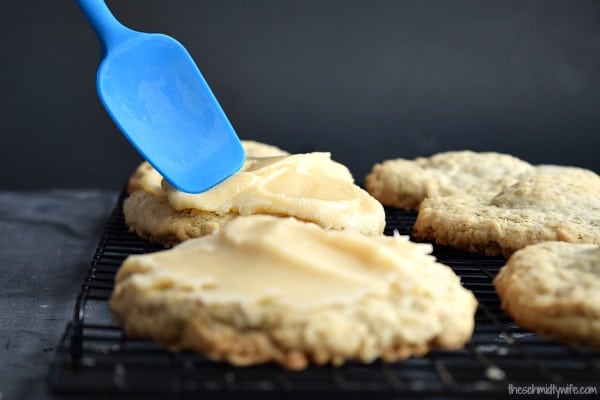
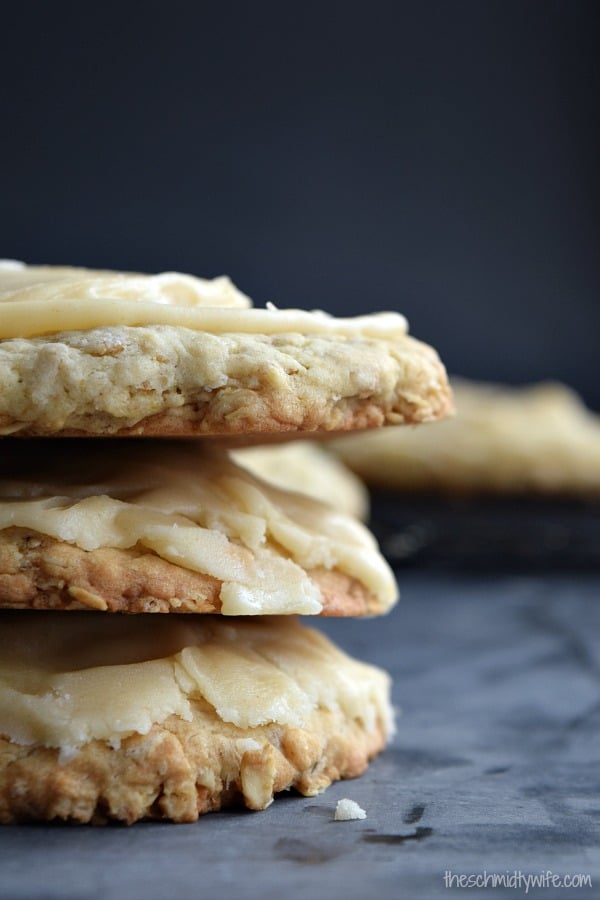
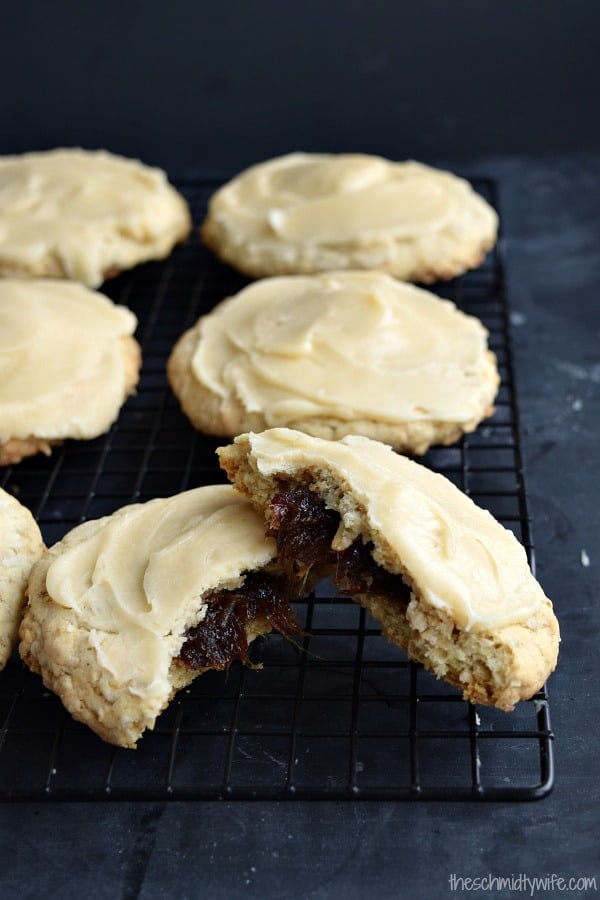
- Grandma’s Oatmeal Triblys
- Raspberry Thumbprint Cookies
Eggnog Snickerdoodles

A fun holiday twist on this classic cookie, Eggnog Snickerdoodles! These spiced and buttery holiday cookies are flavored with rum extract to make an Eggnog flavored favorite.
Ingredients
- 2 ¾ cups (398g) all-purpose flour
- 2 teaspoons cream of tartar
- ½ teaspoon baking soda
- ½ teaspoon baking powder
- ¾ teaspoon ground cinnamon
- ¼ teaspoon ground nutmeg
- ¼ teaspoon salt
- 1 cup (8 oz) unsalted butter, softened
- 1 cup (210g) granulated sugar
- ½ cup (110g) packed light brown sugar
- 2 large eggs
- 1 teaspoon vanilla extract
- ½ teaspoon rum extract
For rolling
- ¼ cup (56g) granulated sugar
- ¾ teaspoon ground nutmeg
- ¼ teaspoon ground cinnamon
Instructions
- In a mixing bowl whisk together flour, cream of tartar, baking soda, baking powder, cinnamon, nutmeg and salt for 20 seconds, set aside.
- In the bowl of an electric stand mixer fitted with the paddle attachment, blend together butter, granulated sugar, and brown sugar on medium until creamy, about 3 minutes. Slowly mix in eggs, vanilla, and rum extract. Blend until fully combined.
- Add the flour mixture to the stand mixer and mix on slow until just combined.
- Cover and place in fridge at least 60 minutes but up to overnight.
- Preheat oven to 350 º F. Add parchment paper to two baking sheets.
- Scoop dough out, one heaping tablespoon at a time and shape into balls.
- In a small bowl whisk together the granulated sugar, nutmeg and cinnamon for rolling. Roll dough balls into mixture to evenly coat. Place 2-inches apart on the parchment paper lined baking sheets. Bake in the oven 9 - 10 minutes (they should appear slightly under-baked when done). Cool on baking sheet several minutes then transfer to a wire rack to cool completely. Store in an airtight container.
Notes
If resting the dough overnight ensure that the dough is wrapped/placed in an airtight container.
Recommended Products
As an Amazon Associate and member of other affiliate programs, I earn from qualifying purchases.

Nutrition Information:
Yield:
32Serving Size:
1 cookieAmount Per Serving: Calories: 49Total Fat: 1gSaturated Fat: 0gTrans Fat: 0gUnsaturated Fat: 0gCholesterol: 13mgSodium: 51mgCarbohydrates: 9gFiber: 0gSugar: 0gProtein: 2g
Nutritional data is automated, final nutritional information will depend on ingredients used and any changes made.