This post is sponsored by Barlean’s. All opinions and writings are 100% mine own. I partner with Barlean’s because I believe in their products and their mission, pathway to a better life.
Dark chocolate with mint and rice crispy cereal along with Barlean’s Chocolate Mint Seriously Delicious CBD makes a delicious Chocolate Mint Crunch Bar perfect for treating yo’ self!
This post may contain Affiliate Links.

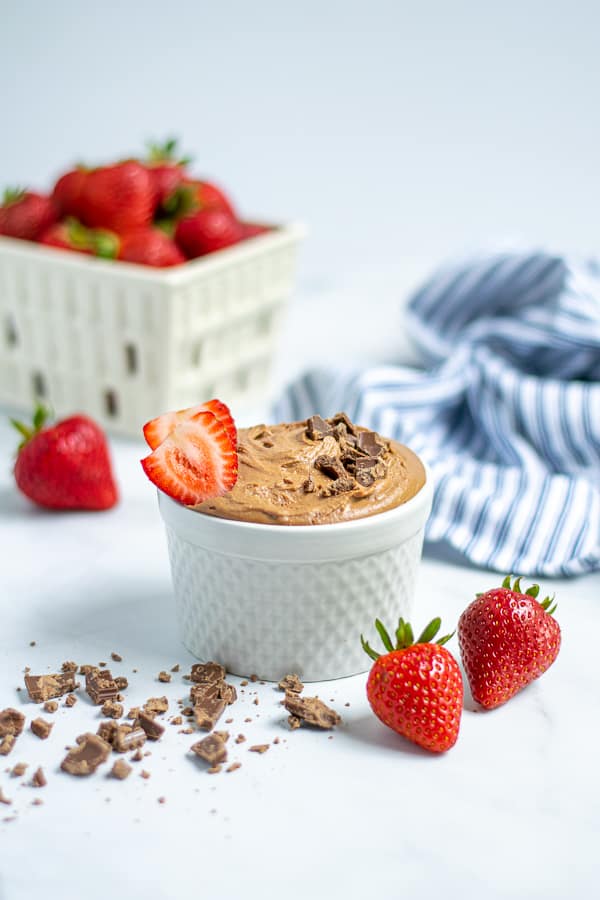
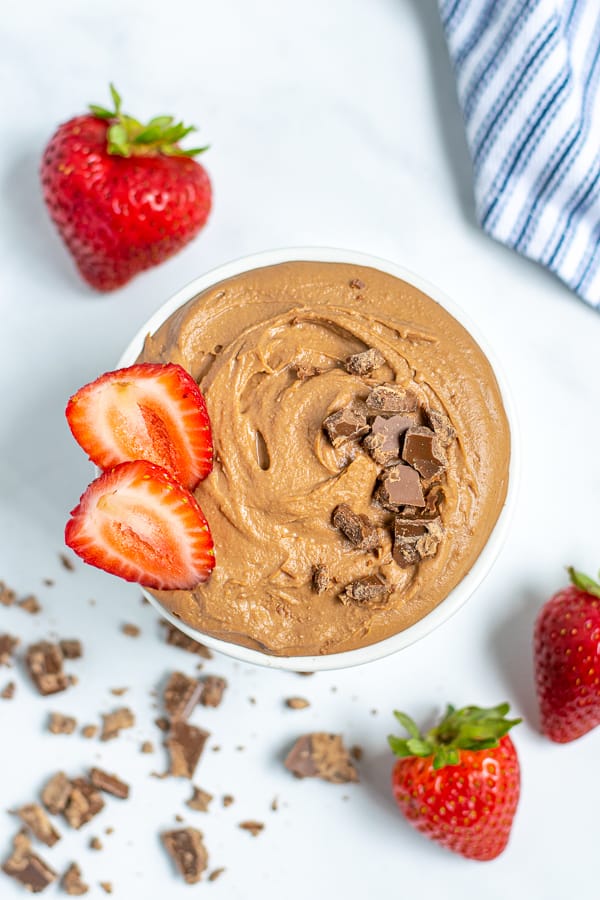
Chocolate Mint Crunch Bar with Barlean’s Seriously Delicious CBD
I am a huge fan of Barlean’s Lemon Drop Seriously Delicious CBD, especially when I make a batch of my Lemon Whipped Greek Yogurt! So when I got a chance to try Barlean’s Chocolate Mint flavor recently I was very excited!
To me the Chocolate Mint flavor of the Seriously Delicious CBD is a serious ‘Treat Yo’ Self’ flavor! So when I went to incorporate it into a recipe I wanted something that embodied ‘me time’.
So with that in mind I went straight to chocolate. I wanted a treat that I could snack on once I finally got to sit down and relax at the end of the night.
As I thought about the chocolate aspect I quickly thought about how the emulsified texture of the Seriously Delicious CBD would combine with dark chocolate to make the perfect chocolate bar. Barlean’s patented process is designed for superior absorption, it turns the nutritional oils into a creamy treat that have an amazing smooth texture. To read more about Barlean’s unique process head here.

So with that I mind I settled on a mix-in of crispy rice cereal to bring some fun texture to my treat along with just a little extra mint extract to play up the flavors. So before you know it I had the perfect 4-ingredient CBD and chill treat!
And not only is it easy to make did you know that Chocolate and CBD are a ‘match made in Heaven’? Hop over to Barlean’s CBD Blog to read more, but essentially both foods contain Anandamide (AEA) or what people commonly refer to as the ‘Bliss Molecule’! It is interesting stuff, so click that article to learn more about it!

How to make Chocolate Mint Crunch Bar
You will need 4 simple ingredients:
- Dark Chocolate Bar: Most normal dark chocolate bars will come in a 3.5 ounce size, so will just need to grab one of those. I recommend 70% dark chocolate but depending on your preference you could go to 80% or even 90%. I prefer using Lindt.
- Peppermint Extract: Just a little to add to the mint flavor, I just use 1/4 teaspoon although if you really love mint flavor you could use up to 1/2 teaspoon.
- Chocolate Mint Seriously Delicious CBD: Get it here: Shop Barlean’s CBD at Anavii Market –> And right now you can save 15% off of Seriously Delicious CBD (both Chocolate Mint & Lemon Drop flavors). Offer valid until April 1, 2020. Just use code: SeriouslyDelicious15
- Crispy Rice Cereal: You can use the easy to find name brand for this recipe or check the health food section of your store for a low-sugar and/or brown rice version, any way it will be delicious!

Now let’s see how easy it it!
To start you will want to line a sheet pan with parchment or wax paper.
In a microwave safe measuring glass or bowl break the chocolate bar into little pieces. Transfer to the microwave. Microwave 60 seconds. Stir the chocolate really well. Now microwave in 10 second intervals mixing really well inbetween times until chocolate is fully melted and no longer has any lumps, this usually takes 20-30 seconds.

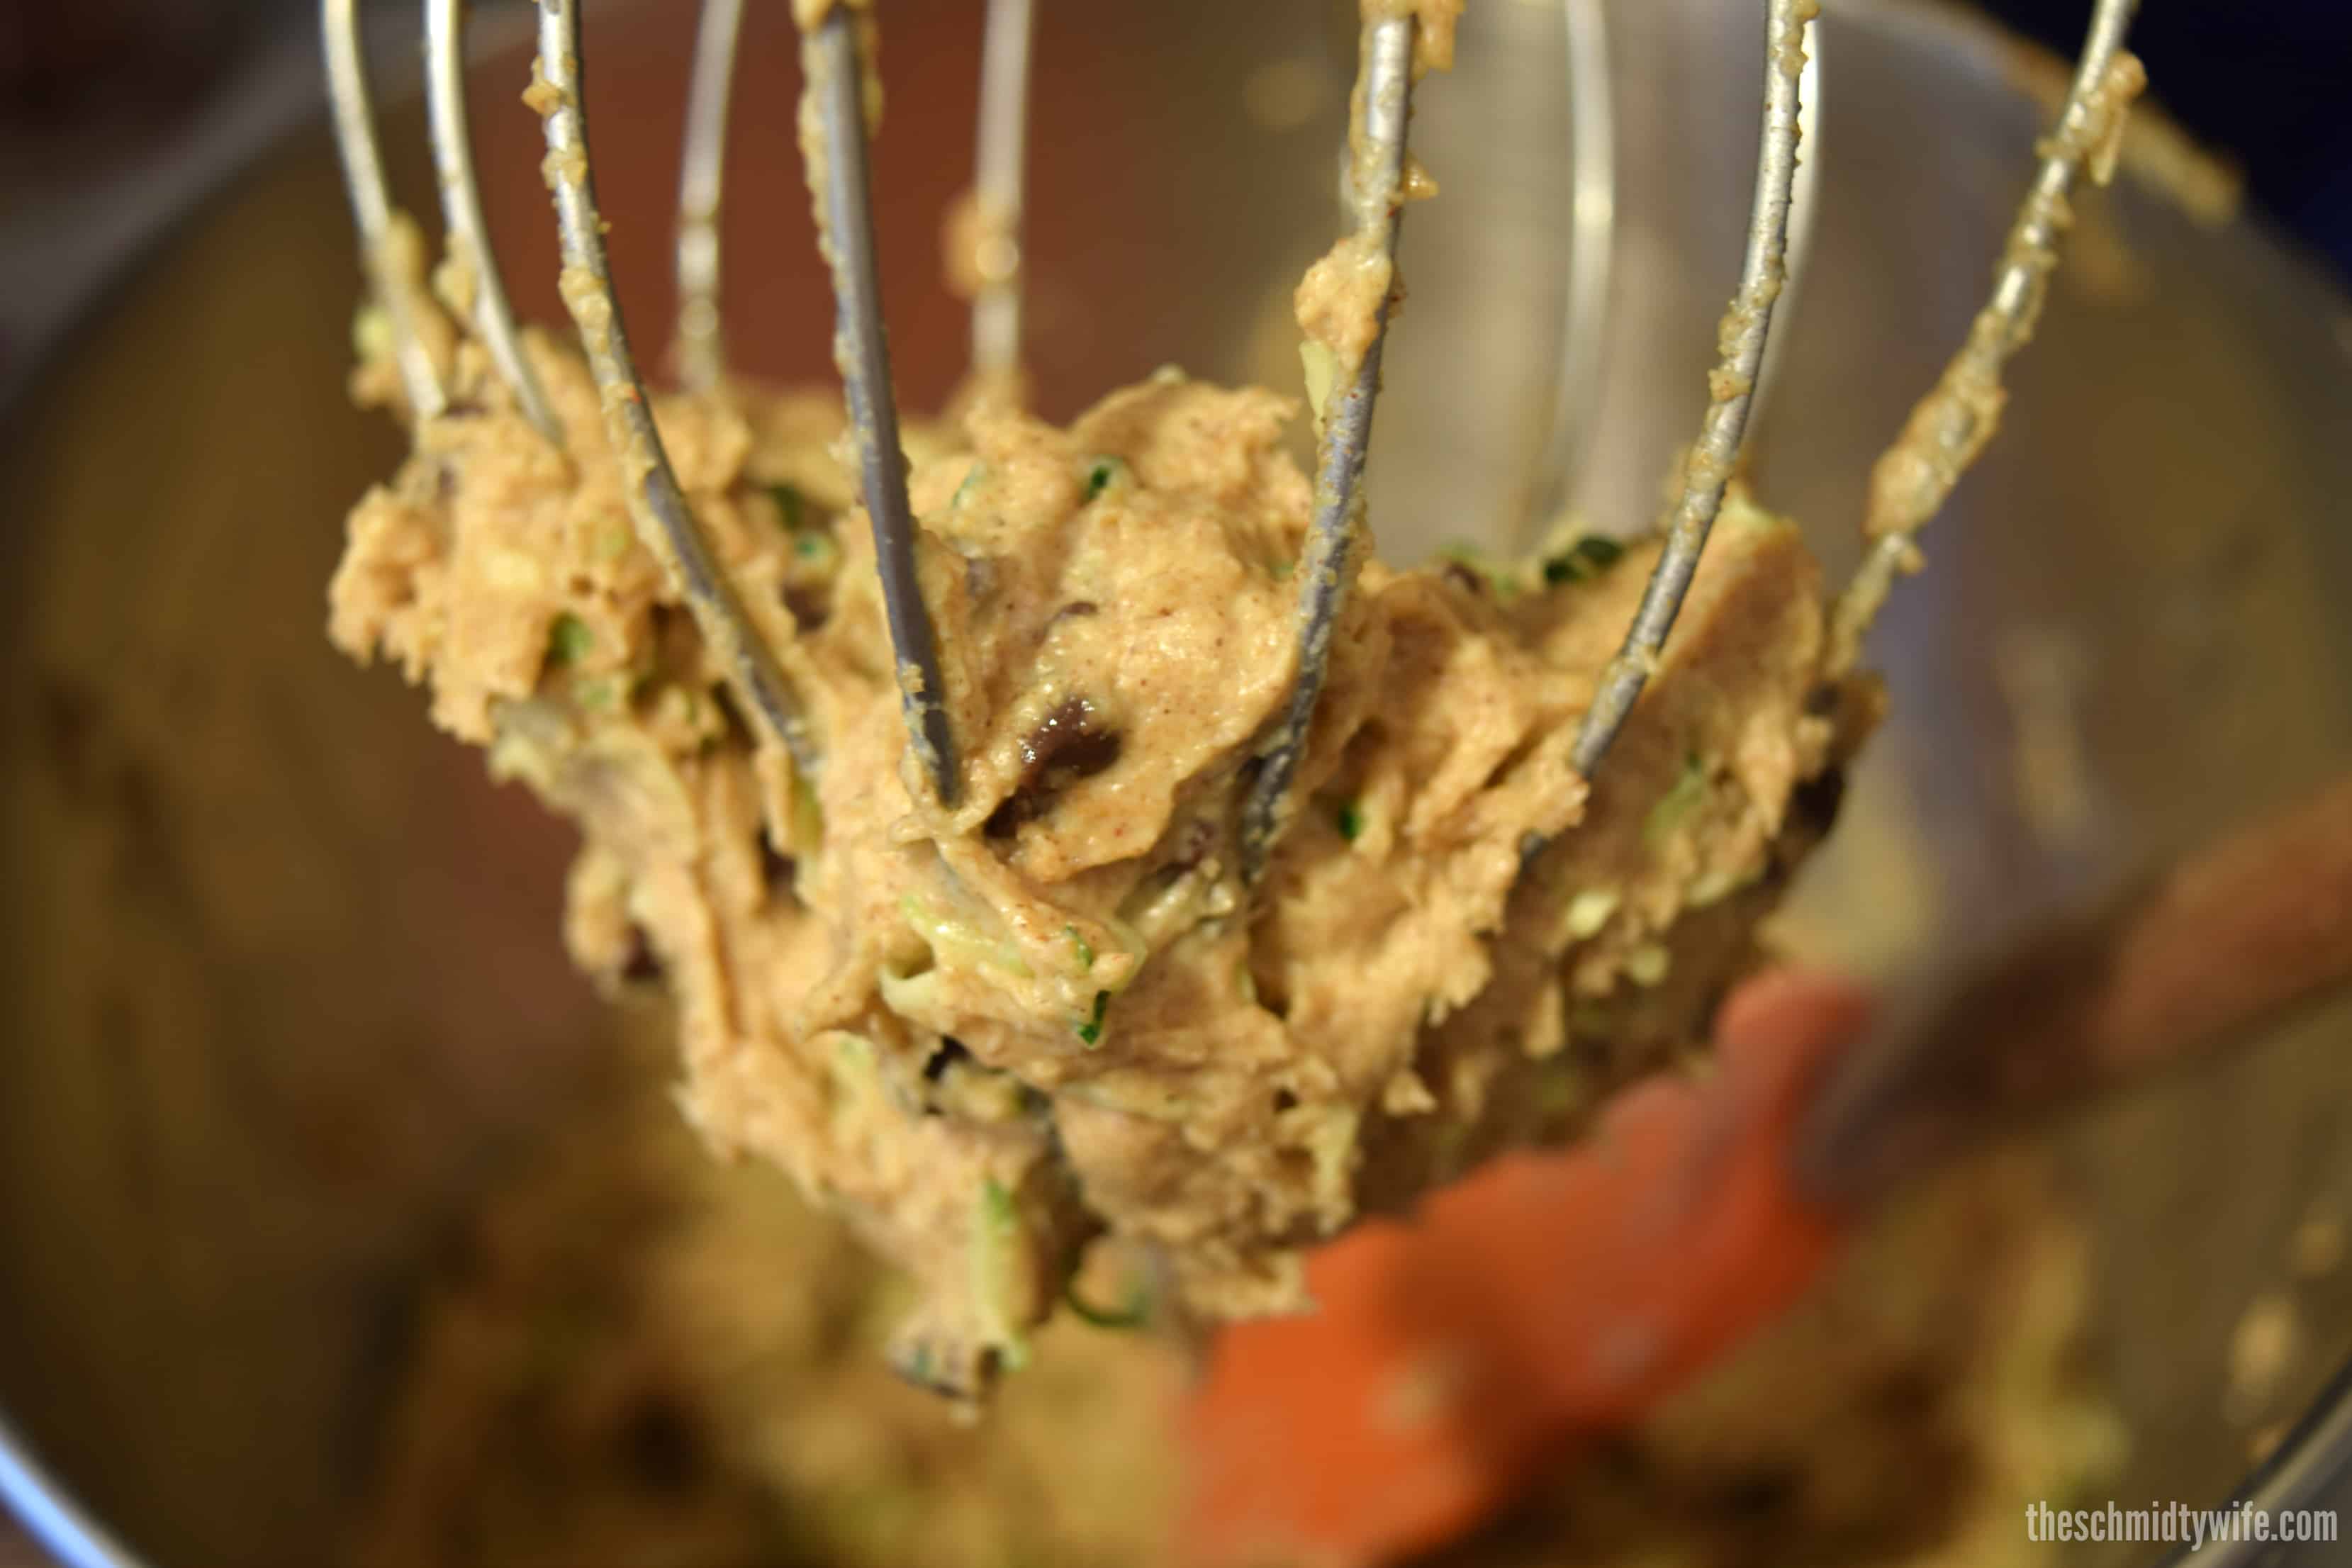
Add peppermint extract and Chocolate Mint Seriously Delicious CBD to the chocolate, mix well to combine.

Stir in the crispy rice cereal until completely coated and mixed in.
Transfer the chocolate mixture to the lined sheet pan. Spread the chocolate out into an even layer, the thicker it is the longer it will take to set. Transfer the sheet pan to the refrigerator.

Chill until set, about 10-15 minutes depending on thickness. Use a sharp knife to break into pieces. Keep any extras in an airtight container in the fridge.

Chocolate Mint Crunch Bar

Dark chocolate with mint and rice crispy cereal along with Barlean's Chocolate Mint Seriously Delicious CBD makes a delicious Mint Crunch Bar perfect for treating yourself!
Ingredients
- 1 (3.5oz) Dark Chocolate Bar (70% recommended)
- 1/4 teaspoon peppermint extract
- 4 teaspoons Chocolate Mint Seriously Delicious CBD
- 1/2 cup crispy rice cereal*
Instructions
- Line a sheet pan with parchment or wax paper.
- In a microwave safe measuring glass or bowl break the chocolate bar into little pieces. Transfer to the microwave. Microwave 60 seconds. Stir the chocolate really well. Now microwave in 10 second intervals mixing really well inbetween times until chocolate is fully melted and no longer has any lumps, this usually takes 20-30 seconds.
- Add peppermint extract and Chocolate Mint Seriously Delicious CBD to the chocolate, mix well to combine. Stir in the crispy rice cereal until completely coated and mixed in.
- Transfer the chocolate mixture to the lined sheet pan. Spread the chocolate out into an even layer, the thicker it is the longer it will take to set.
- Transfer the sheet pan to the refrigerator. Chill until set, about 10-15 minutes depending on thickness. Use a sharp knife to break into pieces. Keep any extras in an airtight container in the fridge.
Notes
*You can use the easy to find name brand cereal for this recipe or check the health food section of your store for a low-sugar and/or brown rice version
You can use a double broiler on the stovetop if you do not want/have a microwave.
Recommended Products
As an Amazon Associate and member of other affiliate programs, I earn from qualifying purchases.

Nutrition Information:
Yield:
4Serving Size:
1Amount Per Serving: Calories: 98Total Fat: 5gSaturated Fat: 3gTrans Fat: 0gUnsaturated Fat: 1gCholesterol: 4mgSodium: 31mgCarbohydrates: 12gFiber: 0gSugar: 9gProtein: 1g
Nutritional data is automated, final nutritional information will depend on ingredients used and any changes made.