The perfect after school snack, this Apple Nachos Recipe is super easy to make! Using simple ingredients you probably already have at home you can create a fun and fresh snack that everyone will enjoy!
This post may contain Affiliate Links.

How to make Apple Nachos
Healthy Apple Nachos really couldn’t be easier to make, consider this post more as a guide than a recipe.
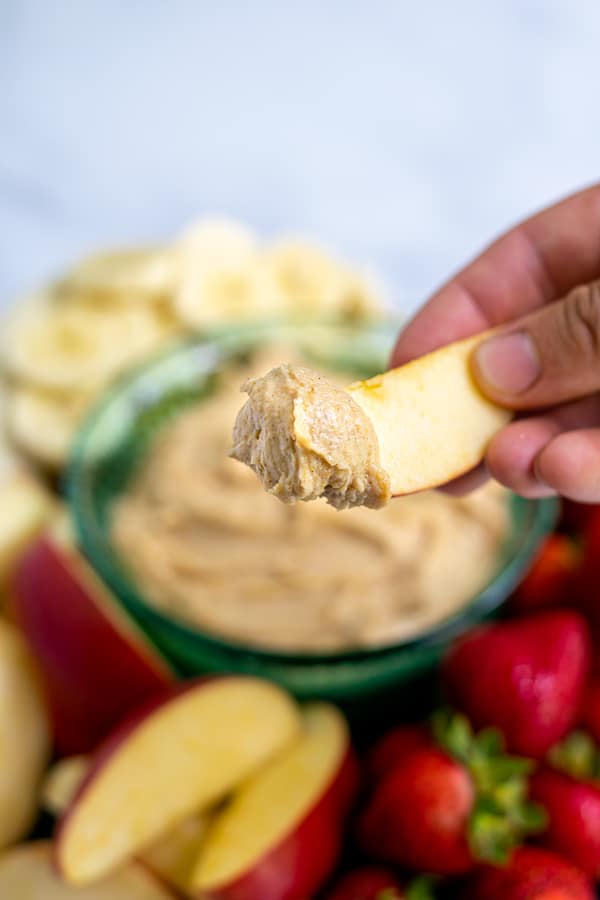
The base starts with apples… too obvious? Then I recommend a drizzle of peanut butter or your favorite nut or seed butter.
By drizzling on the nut/seed butter first it gives something for all the other toppings you choose to stick to something so they don’t just fall off the apples as you are trying to eat it.
Beyond that the rest is really like a ‘choose your own adventure’.
In the recipe I simply included what I normally add to the apple nachos. I like the combo of the granola and dried cranberries because of the different textures of the toppings. And then of course my kids love the little addition of a few mini chocolate chips (totally optional of course if you don’t want to include chocolate).
So let’s see what I include on mine and then I have a little list of what else you can include!

Ingredients
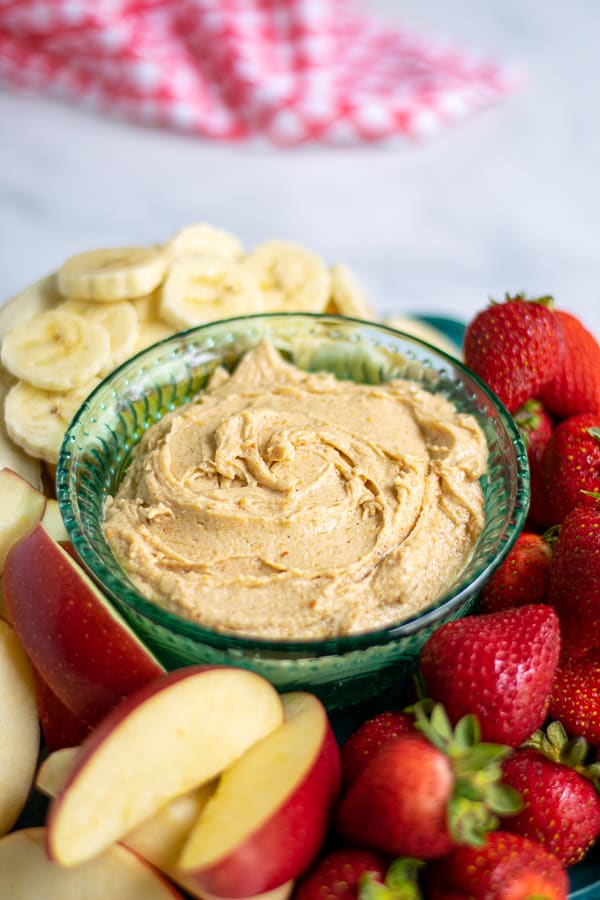
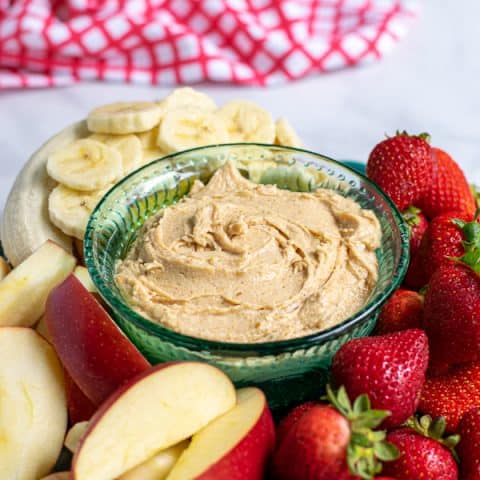
- Apples
- Peanut Butter (or your favorite nut/seed butter)
- Granola
- Dried Cranberries or Raisins
- Mini Chocolate Chips

You could also include toppings like:
- Coconut Flakes
- Peanuts
- Sliced Almonds
- Cashews
- Blueberries
- Sliced Bananas
Instructions
Slice the apples into flat slices or wedges. Lay the apple slices over a plate or platter.
If you want to prepare the apples slices ahead of time and want to keep them from browning add 2-3 teaspoons lemon juice to a bowl of cold water. Submerge the apple slices in the lemon water until you are ready to use. Remove the apple slices from the water and shake off any access water.
Drizzle apple slices with peanut butter. Sprinkle the granola, dried cranberries/raisins, and chocolate chips overtop. Add more or less of any ingredients and feel free to brainstorm up your own fun toppings!


If you like these Healthy Apple Nachos you might like these recipes:
- Peanut Butter Fruit Dip
- Tropical Energy Bites
- Chocolate Hummus
- How to make 100% Peanut Butter
- Parfait Popsicles
- Flourless Banana Muffins
Healthy Apple Nachos

A fun and healthy snack for everyone, Apple Nachos! Pile a platter high with apple slices and top with your favorite sweet toppings! Perfect for after school!
Ingredients
- 2 apples
- ¼ cup peanut butter
- ¼ cup granola
- ¼ cup dried cranberries or raisins
- 1 tablespoon mini chocolate chips
Instructions
- Slice apples into flat slices or wedges. Lay apples over a plate or platter.
- Drizzle apple slices with peanut butter. Sprinkle the granola, dried cranberries/raisins, and chocolate chips. Add more or less of any ingredients and feel free to brainstorm up your own fun toppings!
Notes
If you want to prepare the apples slices ahead of time and want to keep them from browning add 2-3 teaspoons lemon juice to a bowl of cold water. Submerge the apple slices in the lemon juice water until you are ready to use. Remove the apple slices from the water and shake off and access water.
Nutrition Information:
Yield:
2Serving Size:
1 apple with toppingsAmount Per Serving: Calories: 511Total Fat: 22gSaturated Fat: 5gTrans Fat: 0gUnsaturated Fat: 14gCholesterol: 0mgSodium: 163mgCarbohydrates: 78gFiber: 10gSugar: 54gProtein: 11g
Nutritional data is automated, final nutritional information will depend on ingredients used and any changes made.